
The bottom line on starting your commentary kit
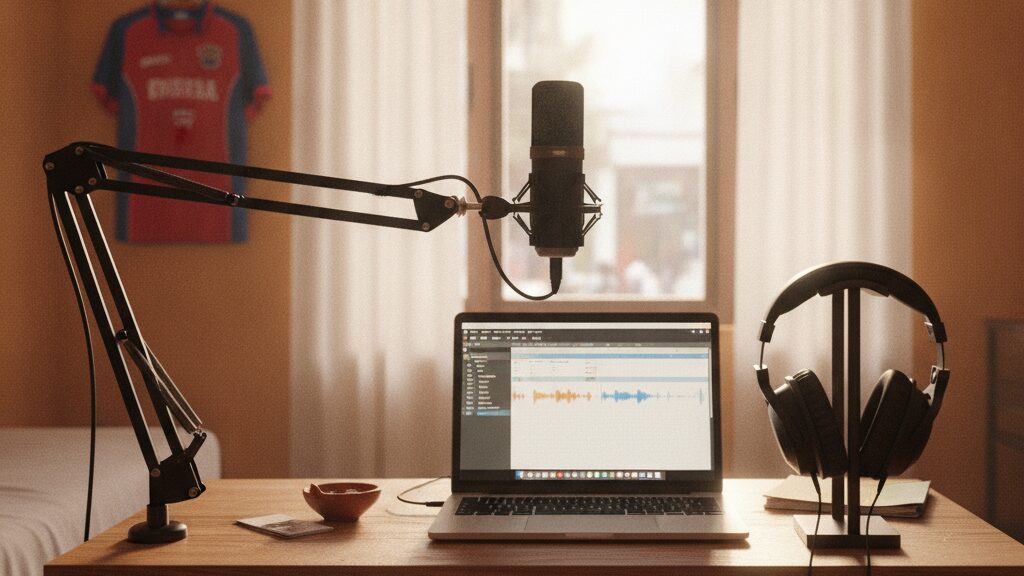
You do not need a ₹1,00,000 studio to start calling games. For a beginner in India, the most efficient setup involves a USB dynamic microphone, closed-back headphones, and free recording software like Audacity. If you have a budget of ₹5,000 to ₹12,000, you can build a rig that sounds professional enough for a strong demo reel.
The goal is clarity and consistency. Many beginners make the mistake of buying the most expensive gear first. In reality, your voice modulation and game knowledge matter far more than your preamp. Start with a basic kit, record hours of practice footage, and upgrade only when your gear limits your growth.
Why your environment dictates your gear
Most Indian homes are noisy. Between traffic, ceiling fans, and family members, your room is likely not soundproofed. This is where many beginners fail. They buy a highly sensitive condenser microphone because a video recommended it, only to find the mic picks up every single click of the fan.
Through our sports education programs at ISST (Institute of Sports Science & Technology), we advise students to prioritize dynamic microphones over condensers. Dynamic mics are much less sensitive to background noise. They require you to sit closer to the mic, which naturally creates that deep, authoritative broadcast tone common in professional sports broadcasting.
The microphone battle: USB vs XLR
This is the first major choice you will face. A USB mic plugs directly into your laptop. An XLR mic requires an audio interface (a separate box) to convert the signal.
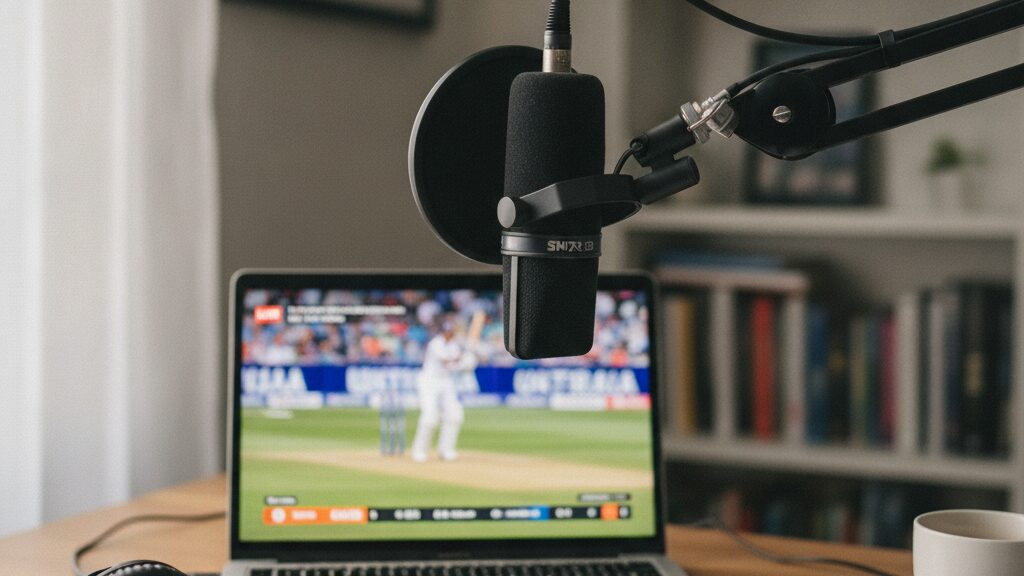
USB microphones are the way to go if you want to start today. They are affordable and highly portable. For a student pursuing a career in sports management or broadcasting, a USB setup removes technical friction. You simply plug it in, hit record, and focus on the match.
XLR microphones offer better sound quality and longevity. If you plan to scale into a full-time professional setup later, XLR is the right investment. However, the entry cost is higher because you must buy the interface. For most beginners in India, the USB setup wins on value during the first year of learning.
Essential equipment for the beginner’s rig
Avoid the urge to buy cheap all-in-one bundles that include flimsy pop filters and plastic arms. Buy the core components separately to ensure better quality.
The Microphone
For a tight budget, the Boya BY-M1 is a decent starting point for field recordings. For commentary, look at the Maono AU-PM421 or the Audio-Technica AT2020USB+. These provide a clean signal that handles the high energy of sports calling without distorting.
Closed-Back Headphones
Open-back headphones leak sound. If you use them while recording, the mic will pick up your own voice from the headphones, creating an echo loop. Use closed-back headphones like the Sennheiser HD 280 Pro or the Audio-Technica M20x. You need to hear exactly what the mic is capturing in real-time.
The Pop Filter
Plosives (the harsh ‘P’ and ‘B’ sounds) can peak your audio and annoy listeners. A simple foam windscreen or a mesh pop filter costs around ₹300 to ₹800 and saves your recording from being ruined. It is a very small price for a professional sound.
Software and the digital workstation
Gear is useless without a way to capture the audio. You do not need an expensive monthly subscription to start. Audacity is free, open-source, and more than enough for a beginner. It allows you to easily trim silences and normalize your audio levels.
When building your portfolio, focus on noise reduction and compression. Compression narrows the gap between your quietest whispers and your loudest screams during a goal or a wicket. This ensures your listener does not have to keep adjusting their volume.
If you eventually move toward professional standards, explore Adobe Audition. It is the industry standard for broadcasting. But remember: the software does not make the commentator; the preparation does. This is why practical training and learning how to become a sports commentator in India involves much more than just software tutorials.
Budget breakdowns for the Indian market
Price points vary, but here are three realistic tiers for today’s market. All figures are estimated in INR (₹).
The Student Tier (₹4,000 – ₹7,000)
This is for the student who wants to practice. Use a USB condenser mic (like Maono) and basic closed-back headphones. Record directly into a laptop using Audacity. This setup is perfectly sufficient for creating basic demo reels for college projects.
The Serious Aspirant (₹12,000 – ₹20,000)
This is the sweet spot. Invest in a high-quality USB dynamic mic (like the Samson Q2U) and professional monitoring headphones (like Sennheiser). Add a sturdy boom arm to keep the mic at mouth level, which reduces neck strain during long matches.
The Semi-Pro Setup (₹30,000+)
Move to an XLR system. Buy a Focusrite Scarlett Solo interface and a Shure SM7B or a Rode PodMic. This setup is what you would use if you are starting a serious sports commentary YouTube channel or a professional podcast.
Building a portfolio with your gear
Owning the equipment is only the easy part. Using it to get noticed is where the real work happens. Do not just record yourself casually talking over a game. Create a structured demo reel.
Pick three different scenarios: a high-intensity climax, a slow build-up of tension, and a technical analysis segment. This shows versatility. When we review portfolios at ISST, we look for the ability to naturally shift tone. The gear should be invisible; the storytelling should be front and center.
Share these reels on platforms like LinkedIn and Twitter. Tag industry professionals, leverage the ISST alumni connect if you are a student, and use these clips to apply for internships in sports media to gain essential live exposure. A clean, well-recorded 60-second clip is often more valuable than a traditional resume.
The failure modes of beginner setups
In practice, many beginners ruin their audio in three distinct ways. First, they record too close to the mic without a pop filter, resulting in harsh popping sounds. Second, they record in a room with bare walls and no curtains, creating an echo (reverb) that sounds amateur.
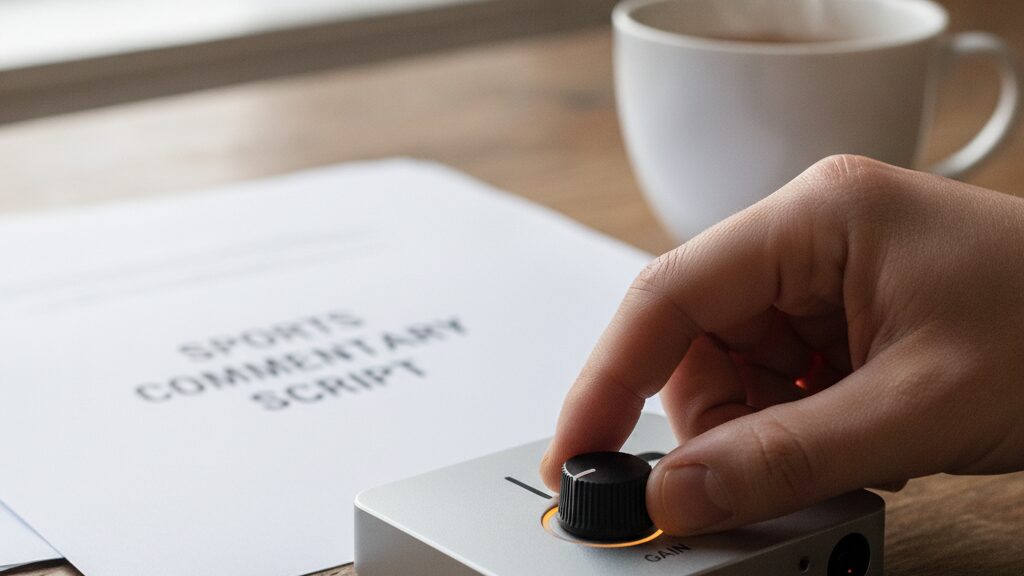
The third failure is the gain mistake. They set the input volume too high. When they get excited and shout, the audio clips, creating a harsh distortion that cannot be fixed in post-production. Always leave some headroom. Record your loudest shout during soundcheck and make sure the meter never hits the red zone.
A simple fix for room echo is the classic blanket trick. If you are recording a voice-over, throw a heavy blanket over your head and the mic. It looks slightly ridiculous, but it kills the reverb and makes an affordable mic sound like a premium studio setup.
Frequently Asked Questions
Do I need a soundproof room to start?
No, you do not. Use a dynamic microphone and record in a room with curtains, cushions, and carpets to naturally absorb sound.
Can I use a high-quality gaming headset for commentary?
Gaming headsets are fine for casual chatting, but their mics usually lack the depth needed for broadcast quality. A dedicated microphone is always a better investment.
Is a USB mic professional enough for a demo reel?
Yes, provided your recording environment is quiet. Reviewers care about your voice, pacing, and timing much more than the specific microphone model.
Which is better for sports: Condenser or Dynamic mics?
Dynamic mics are generally better for beginners in India because they reject background noise and provide a warmer, broadcast-style tone.
How much should I spend on my first setup?
An estimated budget of ₹7,000 to ₹12,000 is usually enough to get a highly capable, professional-sounding USB kit.
Do I need an audio interface for a USB microphone?
No, USB microphones have a built-in interface. You only need a separate external interface for XLR microphones.
What software should I use for editing?
Audacity is an excellent free option for beginners. It is simple, powerful, and widely used for basic audio cleaning and recording.
How can I stop my audio from clipping when I shout?
Lower your gain settings on the mic or inside your software. This creates necessary headroom so your loud, exciting moments stay clear without distorting.
Start your broadcasting journey today
The difference between a passionate fan and a professional is the simple willingness to start. Stop researching the perfect mic and pick a basic kit that fits your budget. Record your first match this weekend and begin building your portfolio. For those looking to turn this passion into a structured career in sports, explore the UGC recognized degrees in sports management and sports sciences at ISST to gain an academic edge. Start building your future today by exploring our latest course brochures.


 – Featured Image")
